
Flowers
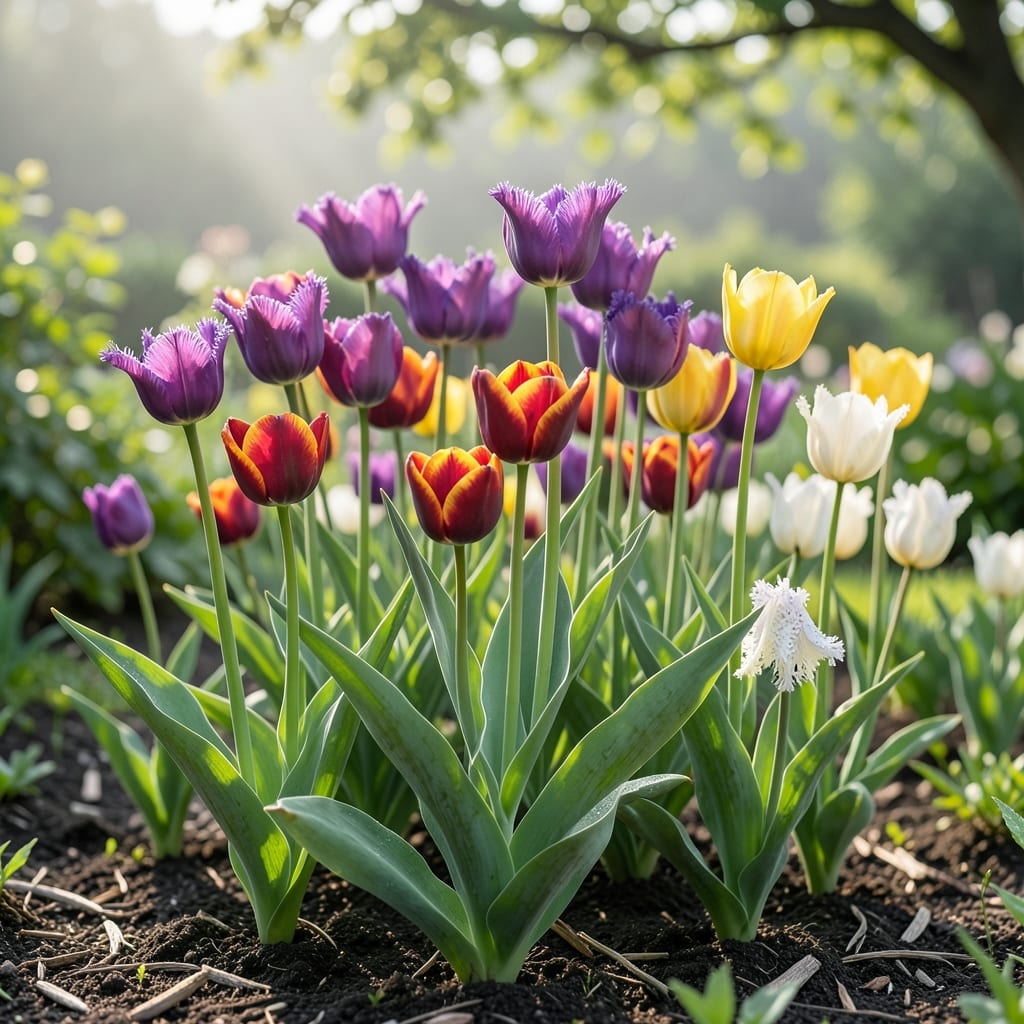
If you’ve ever wondered how tall can tulips grow, you’re not alone—they can stretch toward the sky like they’re reaching for a cloud, and their height varies dramatically depending on the variety. From barely knee-high to towering over your head, understanding their growth range is key to designing a garden that feels balanced and intentional. Whether you’re working with a small urban space or a sprawling backyard, knowing which types stay short and which reach for the heavens can make all the difference in your layout.
From dainty 4-inch dwarf varieties perfect for borders to 2-foot-tall giants that command attention in mixed beds, tulips offer a range that’s as surprising as it is useful. I’ll break down the height differences by type and share simple pruning tricks to keep them at your ideal height—no matter what your garden needs.
Ready to turn your tulip patch into a showstopper? Let’s explore how to harness their natural growth patterns for a garden that’s as practical as it is beautiful.


Tulip height by variety: from dwarf to giant bloomers
Tulips aren’t one-size-fits-all when it comes to height—some stay neatly tucked near your ankles while others stretch toward your shoulders. The average tulip height ranges from just 4 inches to a towering 28 inches, depending on the variety. Understanding these differences helps you choose the perfect types for containers, borders, or statement pieces in your garden.
For example, dwarf tulips like 'Tiny Wine' max out at 6 inches, making them ideal for edging walkways or filling small pots. On the opposite end, Darwin hybrid tulips like 'Apeldoorn' can reach 26 inches, perfect for creating dramatic focal points in mixed beds. The key is matching the variety to your space and design goals.
Here’s a quick breakdown of how tulip height varies by type, so you can visualize which will work best in your garden layout.
| Variety Type | Height Range | Best For |
|---|---|---|
| Dwarf Tulips | 4–12 inches | Containers, rock gardens, borders |
| Semi-Dwarf Tulips | 12–16 inches | Front of borders, window boxes |
| Standard Tulips | 16–20 inches | Mixed beds, cut flowers |
| Darwin Hybrid Tulips | 20–28 inches | Back of borders, focal points |
| Species Tulips | 6–18 inches | Naturalized areas, wildflower gardens |
| Parrot Tulips | 18–24 inches | Cut flower arrangements, statement plants |
If you’re designing a layered garden, I recommend pairing tall Darwin hybrids at the back with dwarf varieties in the front. This creates a natural flow that draws the eye through your space while keeping everything proportional. For example, planting 'Queen of Night' (24 inches) behind a row of 'Tiny Wine' (6 inches) adds depth without overwhelming the scene.
Another pro tip: Parrot tulips like 'Black Parrot' often exceed 2 feet, but their exotic, ruffled blooms make them worth the extra height. If you’re short on space, opt for species tulips like Tulipa tarda, which stay under 12 inches but pack a punch with their early spring color.
For container gardens, stick to semi-dwarf or dwarf varieties—they won’t topple over in windy conditions and fit neatly into pots. I’ve seen stunning displays using 'Ice Cream' (12 inches) and 'Pink Diamond' (14 inches) in 12-inch-wide containers, creating a cascading effect that’s both charming and low-maintenance.
One common mistake is assuming all tulips reach the same height. I once planted a mix of Darwin hybrids and dwarf tulips together, only to realize the taller varieties were crowding out the shorter ones. The fix? Group by height and add taller plants like alliums or bearded irises to bridge the gap naturally.
Ready to experiment? Start with a mix of heights—perhaps a 6-inch dwarf in the front, a 16-inch standard in the middle, and a 24-inch Darwin hybrid at the back. Your garden will thank you for the balance!
🌷
How to prune tulips for optimal height and blooms
Pruning tulips isn’t just about tidying up—it’s a game-changer for controlling their height, encouraging reblooming, and preventing those pesky floppy stems. The right cuts at the right time can make your 2-foot giants behave like well-mannered 1-foot companions or keep your dwarf varieties from getting lost in the grass. I’ve learned the hard way that skipping pruning can lead to leggy stems or missed second blooms, so let’s dive into the when, how, and why behind every snip.
Timing is everything. The best time to prune tulips is right after blooming, when the petals have fully opened but before they start wilting. This ensures the plant redirects its energy from seed production back into storing nutrients for next year’s spring blooms. If you’re growing reblooming varieties, like the Darwin Hybrid or Parrot Tulip, you’ll need a two-step approach: first cut after the initial bloom, then a second trim after the second flush. Pro tip: Never cut stems shorter than 2 inches above the foliage—this protects the bulb’s food supply.
For tall varieties like Queen of Night or Black Parrot, you might want to prune stems back by one-third during the growing season to encourage bushier growth and prevent flopping. This works best on stems that have reached 12–18 inches—just pinch or cut above a leaf node to promote branching. Just remember: the more you prune, the more you’ll need to stake your tulips later in the season, especially if you’re dealing with windy conditions or heavy blooms.
One mistake I see gardeners make is removing too much foliage too soon. The leaves are the food factories for next year’s blooms, so never cut them until they’ve fully yellowed and died back naturally. If you’re impatient and trim early, you’ll sacrifice next spring’s showstopping blooms. Think of it like saving up for a vacation—you wouldn’t spend all your money before payday, right? The same logic applies here.
If you’re growing tulips in containers or small spaces, pruning becomes even more critical. For dwarf varieties like Tiny Star or Peppermint Stick, a light trim after blooming keeps them compact and prevents them from getting buried under their own lush foliage. And for rebloomers, a mid-summer pruning can encourage a second flush of blooms—just give them a little balanced fertilizer afterward to reward their efforts.
Don’t forget: sterilize your shears between cuts to prevent spreading disease. A quick wipe with rubbing alcohol keeps your tools ready for the next plant. With these pruning tips, you’ll have tulips that bloom bigger, bushier, and at just the right height for your garden’s vision. Happy snipping!