
How To
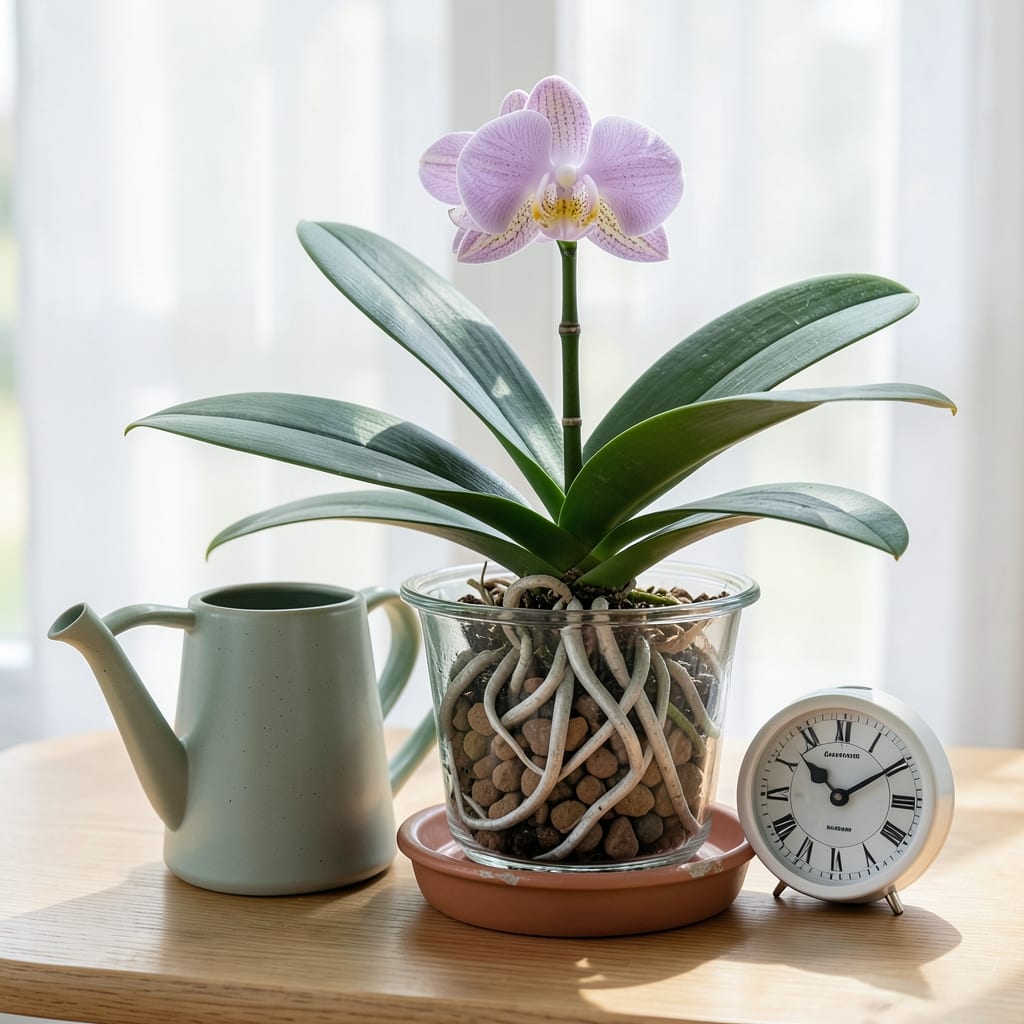
Mastering the art of watering orchids in clay pebbles can feel like walking a tightrope—too much water, and you risk root rot; too little, and your 🌸 wilts faster than you can say "fertilizer." The key isn't guessing; it's following a proven schedule that adapts to your orchid's environment.
Most beginners overcomplicate this process, but the truth is simpler than you think. With just a 5-day schedule and a few visual cues, you can keep your orchids thriving without the stress. I’ll show you exactly how to balance moisture, humidity, and temperature so your plants stay lush year-round.
Why does this method work? Because orchids in clay pebbles need a different approach than traditional soil. The porous pebbles dry out faster, but they also hold moisture differently—meaning your watering habits must change. Let’s break down the exact steps, signs to watch for, and common mistakes that could kill your orchid before it even blooms.
Ready to transform your orchid care routine? By the end of this guide, you’ll know not just how often to water, but why it matters—and how to adjust for your home’s unique conditions. Your orchids will thank you with vibrant blooms and healthy roots.
The 5-Day watering schedule for orchids in clay pebbles (with exact timing)
Orchids in clay pebbles thrive on a predictable routine, but their needs shift with humidity, temperature, and pot size. My 5-day schedule balances these factors while keeping roots aerated and healthy. The key is monitoring moisture levels—not just guessing based on days since last watering.
Clay pebbles dry out faster than traditional soil, so orchids in this medium often need water every 5-7 days during active growth (spring-fall). However, in winter, I stretch this to 10-14 days because cooler air slows evaporation. Always check the top 1-2 inches of pebbles—if they’re dry, it’s time to water.
Here’s how I break it down for my Phalaenopsis orchids (the most common type grown in clay pebbles). Adjust based on your home’s conditions—more humidity? Water slightly less often. Less humidity? Increase frequency by 1 day.
Step-by-Step 5-Day Watering Schedule
- 💧 Day 1: Water thoroughly until water drains freely from the bottom. Use room-temperature water to avoid shocking roots.
- 🌡️ Day 2-3: Let excess water drain completely. Avoid placing the pot in a saucer—this traps moisture and causes rot.
- 👀 Day 4: Check moisture by touching the top pebbles. If they’re dry, your orchid is ready for water again.
- ⏰ Day 5: Rewater if the pebbles feel dry. In high humidity (above 60%), extend to Day 6-7.
- 🌱 Weekly Tip: Rotate your orchid ¼ turn weekly to ensure even light exposure, which affects moisture evaporation.
Pro tip: Use a moisture meter for accuracy, especially if you’re new. Stick it into the pebbles—if it reads dry, water; if it’s moist, wait 1-2 more days. This eliminates guesswork and prevents both underwatering and overwatering.
Seasonal adjustments are critical. In summer, when humidity spikes, I water every 3-5 days. In winter, when my home’s heat dries the air, I reduce frequency to 10-14 days. Pay attention to your orchid’s leaves—wrinkled or drooping signals thirst, while yellowing or mushy roots mean you’re overdoing it.
Another game-changer? The type of water you use. Orchids hate chlorine and fluoride, so I always use filtered or distilled water. If you’re using tap water, let it sit out for 24 hours before watering to allow chemicals to dissipate. This small step can extend your orchid’s lifespan by years.
For terrarium-style setups, where clay pebbles are layered with moss, reduce watering by 25%. The moss retains moisture longer, so check the top layer daily instead of every few days. If the moss stays damp for more than 3 days, your orchid is at risk of rot.
Finally, never water on a schedule without checking. Climate control in homes varies wildly—your neighbor’s 5-day rule might not work for you. Trust your observations: dry pebbles = water, damp pebbles = wait. Your orchid will thank you with longer blooms and healthier roots.
🌸 Ready to put this into practice? Grab your moisture meter and start testing those pebbles today!
Signs your orchid needs water (or too much) in clay pebble setups
Clay pebbles hide moisture levels better than soil, making it tricky to tell when your orchid is thirsty or drowning. Unlike traditional potting mixes, pebbles don’t shrink visibly when dry, so you’ll need to rely on visual cues and tactile checks to avoid common mistakes. I’ve learned the hard way—my first orchid in pebbles turned yellow overnight because I ignored these warning signs until it was too late.
Start by examining the leaves and roots. Healthy orchid leaves should be firm and bright green, while roots should appear silver-gray when dry and green when hydrated. If your pebbles feel damp to the touch or your orchid pot is heavier than usual, it’s a red flag that you’ve overwatered. On the flip side, if the leaves feel wrinkled or crispy, your orchid is begging for water.
Underwatering vs. Overwatering: Key Differences
🌱 Underwatering
- 🌿 Wrinkled leaves
- 💧 Dry, crumbly pebbles
- 🌡️ Leaves feel cool to touch
- 🌱 Slow growth
✅ Fix: Water thoroughly and place pot in a humidity tray.
💧 Overwatering
- 🌿 Yellow leaves
- 💩 Foul smell from pot
- 🌡️ Mushy, black roots
- 🌱 Wilting despite moist pebbles
⚠️ Fix: Remove orchid, trim rotten roots, repot in fresh pebbles.
One of my favorite tricks is the "finger test". Stick your finger about 1 inch deep into the pebbles. If it comes out clean and dry, water your orchid. If it feels damp, wait another 24-48 hours. This method works even in terrariums, where moss can mask moisture levels. Pro tip: Use a wooden skewer for delicate orchids—it’s gentler than your fingers and just as effective.
Pay attention to the pot’s weight too. A dry pot of clay pebbles feels surprisingly light, while an overwatered one becomes noticeably heavier. I keep my orchids on a lightweight saucer so I can lift and assess them easily. If your pot feels unusually heavy for more than a day after watering, it’s time to let it dry out. This simple habit saved my Cattleya orchid from root rot last winter.
Seasonal changes also affect moisture needs. In summer, when humidity rises, your orchid might show signs of overwatering even if you’re following your usual schedule. Watch for drooping leaves that don’t perk up after watering—this is a classic sign of too much moisture. Conversely, in winter, dry air can make pebbles dry out faster, so you might need to water every 10 days instead of 7. Adjust based on your home’s indoor climate, not just the calendar.
Don’t ignore the roots either. Healthy orchid roots should be plump and green when hydrated. If they’re shriveled or black, it’s a cry for help. I like to gently remove my orchid from its pot every 2-3 months to inspect the roots. This isn’t just about watering—it’s your chance to spot pests or disease early. A quick rinse in room-temperature water removes debris and lets you see the roots clearly.
🌿 Remember: Orchids in clay pebbles are forgiving if you catch problems early. The moment you see wrinkled leaves or yellowing, act fast. With these cues, you’ll never guess wrong again—just follow the signs your orchid gives you.